Now I want to explain which steps it took to find a reasonable layout for the controller. Each of these steps was helpful to clear up my mind regarding its size, its shape and the distribution of controls within the controller's area. The design I finally ended up with differed completely from the layout I started with in the beginning...
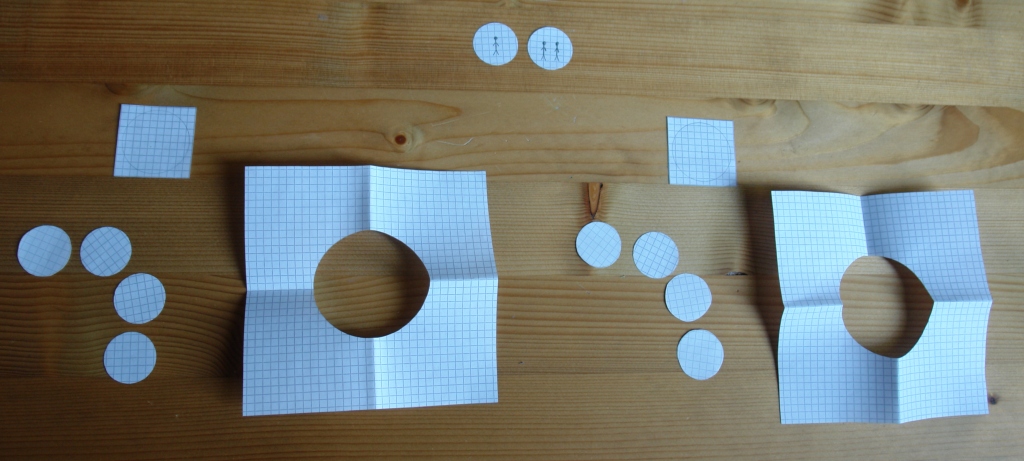
My original plan was to build a dual player unit with spinners and trackballs as a counterpart to those joystick- based panels which are available from different vendors like Mameroom Designs, (SlikStik) or XGaming. In my first most basic attempts to find a sensible layout of controls I used a set of paper cut- outs:
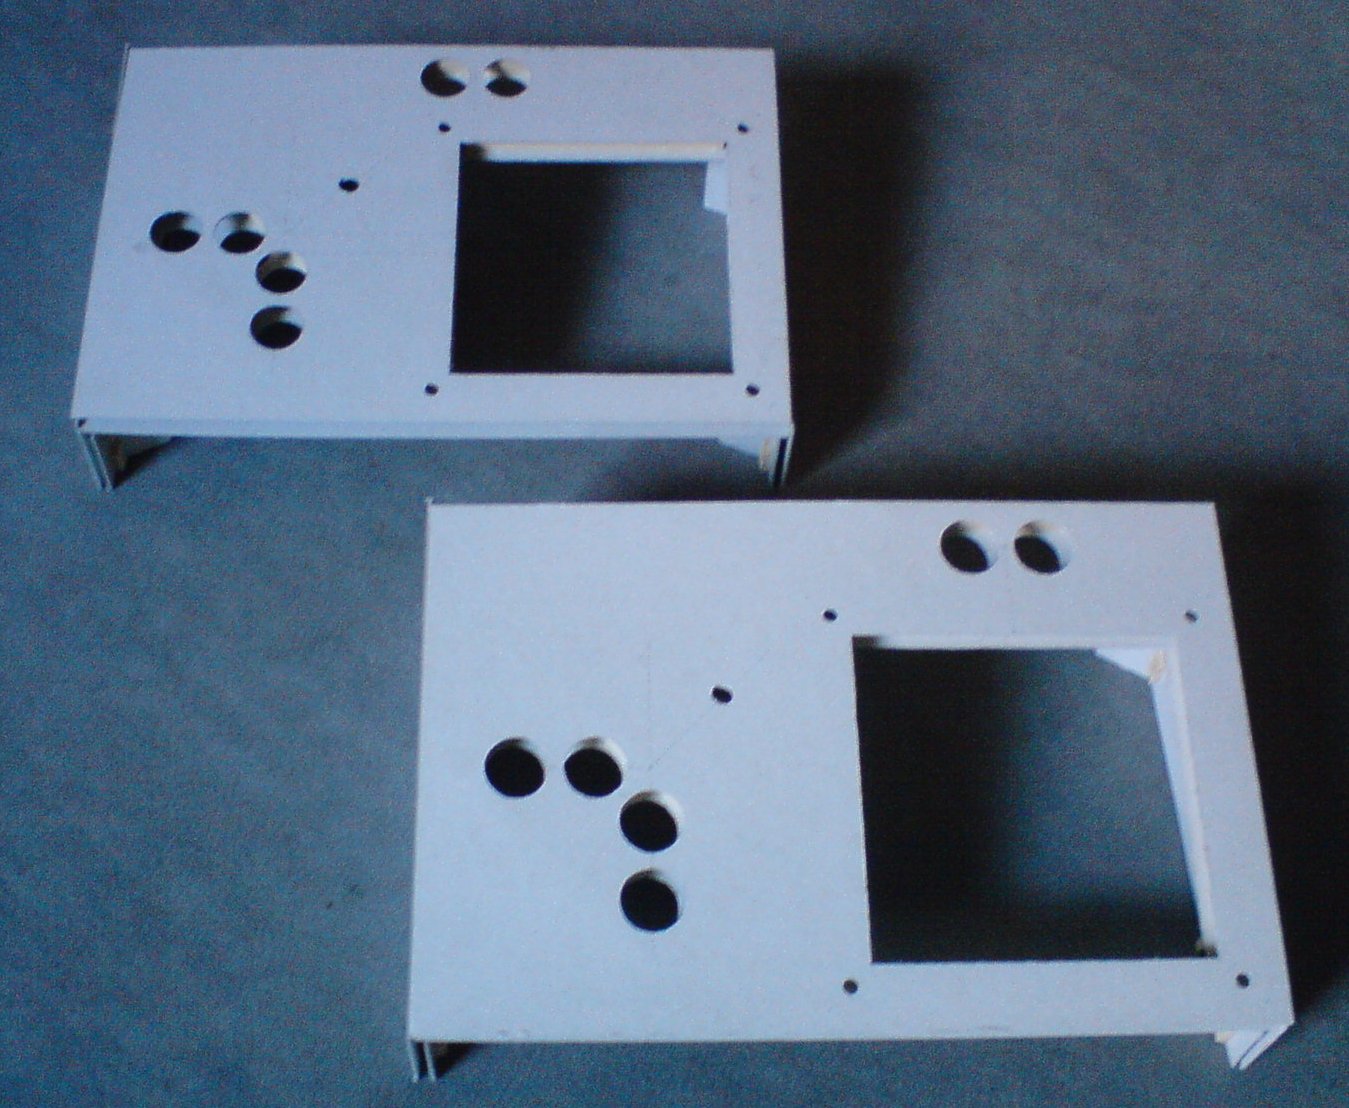
After I figured out what the best layout of controls for a single player woud be, I made mock- ups from cardboard and wooden slats:
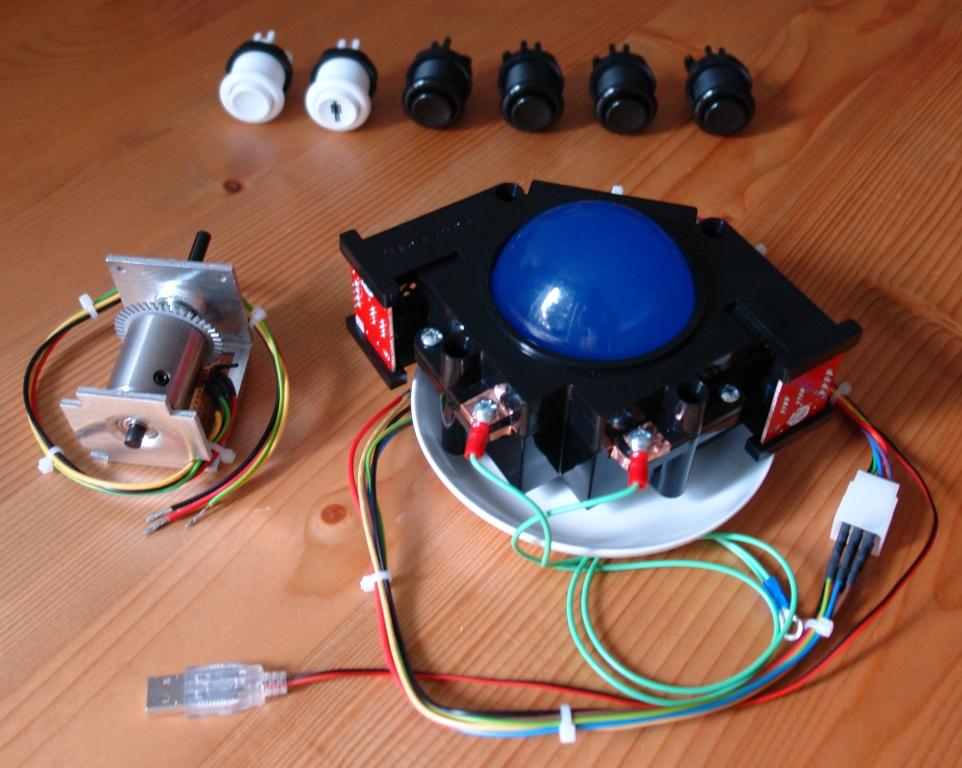
The gameplay was tested after the actual controls had been mounted on the cardboard mock- ups. Unfortunately, I don't have any pictures available from this phase, but here is one of the dismounted controls:
As a next step, I checked out possible relative positions of the single player mock- ups with the intention to merge them into a dual player layout. I realized very quickly that such a unit would grow in size beyond every sensible limit, so I needed to find a way to keep the size of the controller handy and still retain the option of second player.
It seemed to me that a good solution might be having two separate units of comparatively small size, one for each player. This would make the player- one unit which contains the logic boards act as a master device that could be used solitarily in a single player game. The second unit for player two was thought to be plugged onto the master if required. As this unit doesn't have any logic boards it depends on the master unit like a slave device. One advantage which comes along with this "master- slave"- approach is the reasonable small size of each unit. Moreover, both controllers are linked via a flexible cable, which allows each player for taking up comfortable positions in front of the PC in a dual player game.
Here is a description of the signals which have to be transmitted across the connection cable:
| 6 Buttons + ground: | 7 | |
| Spinner: | 4 | |
| Trackball: | 6 | |
| Trackball illumination: | 2 | |
|
|
|
|
| Total: | 19 |
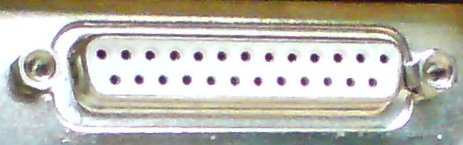
Hence, a 25 pin serial cable is sufficient to support all signals needed. This cable plugs into female 25 pin SUB-D connectors with solder cups, which are sufficiently available at electronics shops. Here are pictures of the cable and a connector:

One of the early design decisions was how the controls had to be distributed across the
panel. I read a couple of related newsgroup threads and compared the layouts of several
arcade cabinets (numerous pictures of cabinets and control panels can be found in the MAME
artwork files). Last but not least, I learned from
this
how *not* to do certain things
Eventually I chose to use the fine control of the right hand for the trackball- and spinner moves. Most spinner- or trackball games have simple firing actions assigned to the buttons, for which the ability of the left hand is sufficient. This is very much different from fighting games with joysticks, in which the attacking / blocking actions of the game characters require to master rapid and in- time pushing of up to 7 buttons.
Having chosen to place the buttons to the left, I had to decide how many of them should be arranged in which pattern. First, I analyzed about 40 spinner / trackball games in MAME and found out that they make use of up to four buttons. I still have to figure out what the third and the fourth button really do in these games, but at least it doesn't hurt to have them available.
The controller which came closest to what I wanted was the X-Arcade Trackball Mouse. At first glance, the buttons placement might look strange, but this arrangement allows you to push the buttons very comfortably with index finger, middle finger and thumb. A video review of the Trackball Mouse from Kevin Steele is archived at the BYOAC website. I adopted this layout and modified it to include four buttons:

Finally, a decent placement for the coin- insert and the start button had to be found.
First I wanted to place both buttons somewhere above the trackball and the spinner, but
the result would have been a much enlarged panel design. So I located both buttons
straight above the buttons no.4 and no.2, which turned out to be a stroke of luck.
Whenever you lose your life in a game and want to continue the level, you can accomplish
the necessary coin- insert and player- start operations with a fast wiping movement of
your left hand, which hardly interrupts the gameplay. Although some people might object
that this will encourage a sloppy attitude in playing arcade games, I usually won't go
very far on one "quarter" and appreciate this feature a lot
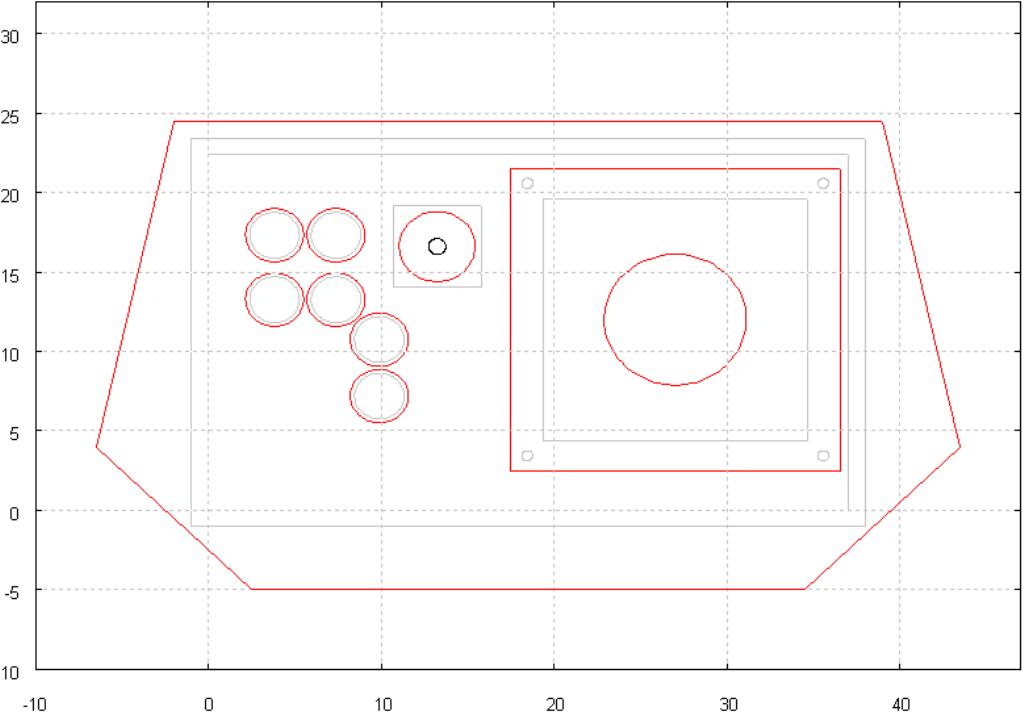
All in all I tried to find a compromise between a compact panel design and a size that gives my hands a comfortable rest while using the controls. The relative position of buttons, spinner and trackball was chosen in a way that all controls could be reached easily without obstruction. The following schematic has been generated with Gnuplot: